Salted Caramels
Prep Time
Cook Time
Total Time
The key to making your own salted caramels is a candy thermometer and paying attention to the temperature. Otherwise it’s easy and makes a great gift!
Author: Katherine Martinelli
Recipe Type: Dessert
Yield: 50-60 caramels
Ingredients
- 1 cup heavy cream
- ¼ cup light corn syrup
- ¼ cup water
- 1¼ cups granulated sugar
- ¼ cup brown sugar
- 5 tablespoons (71 grams) unsalted butter, cut into pieces
- 1 teaspoon vanilla
- 2 teaspoons sea salt
- Coarse salt of your choice, for finishing
Directions
- Line a 9-inch loaf pan or 8-inch square baking pan (depending on how thick you want the caramels to be) with parchment paper and rub all sides with butter or oil.
- Put the cream in a medium-size, heavy-bottomed saucepan with a candy thermometer attached and bring to a gentle boil.
- Add the corn syrup, water, and white and brown sugar. Bring to a boil, stirring very gently until the sugar is fully dissolved. Wait until it reaches 250F, stirring occasionally (it will rise very quickly to 220F, but will take 20 to 30 minutes to get to 250F). If any sugar splashes up the side of the pot, you can use a wet pastry brush or clean paintbrush to wipe away (sugar on the side of the pot like that could crystallize and ultimately mess up your end product).
- Remove from the heat and add the butter, vanilla, and salt. Stir until the butter has fully melted and been incorporated. If the butter separates from the mixture and it looks oily, put it back on the heat for a minute, stirring constantly, until it’s fully incorporated.
- Carefully pour the mixture into the prepared baking pan. For quick results, pop the pan in the freezer for 20 to 30 minutes. Otherwise, allow to cool fully in the refrigerator or at room temperature, about 2 hours.
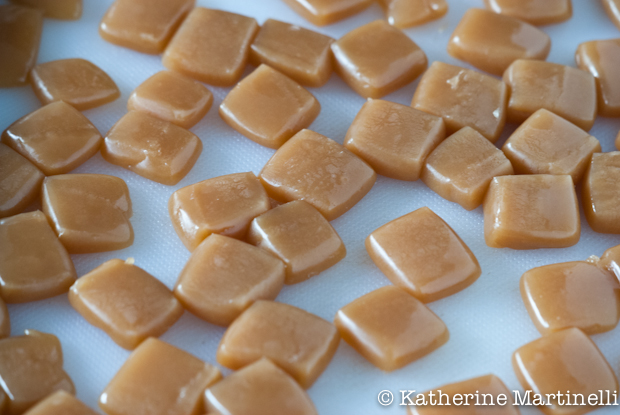
- Remove the cooled, solidified caramel from the pan. If you are not going to coat in chocolate, then sprinkle with coarse salt of your choice and gently press into the caramel. Cut into ¾-inch squares.
- Wrap individual pieces in wax paper and store in an airtight container in the refrigerator for up to 2 weeks.
Notes
Gluten Free, Kosher Dairy, Vegetarian; To learn how to coat the caramels in chocolate, check out my recipe in the Forward!
Recipe by Katherine Martinelli at http://www.katherinemartinelli.com/blog/2012/salted-caramels/